 Here are 10 lessons I learned by doing a difficult project and figuring out how to get it done. It pushed my skills as a developer and as a person. I presented this talk at WordCamp Lehigh Valley last weekend.
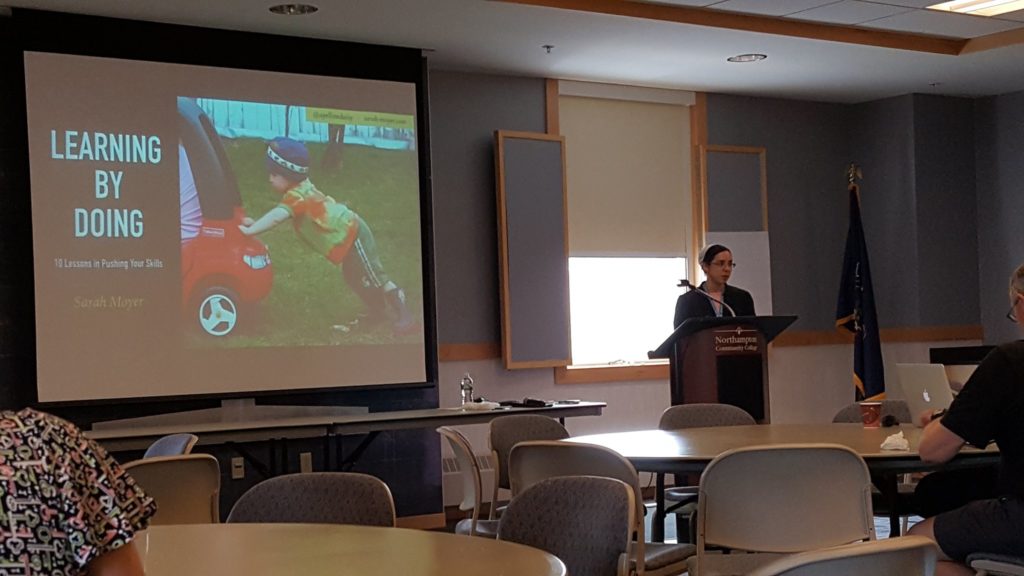
Here are the slides:
I was also encouraged to write a blog post, so here it is:
Learning by Doing: 10 Lessons in Pushing your Skills
I received a photoshop file from the designer for one of my website projects. On the home page design, was a slider that I was not sure how to build.
I searched on Google and in the WordPress plugin repository, looking for sliders, carousels, rotators (did you know there are that many words for basically the same thing?), anything that worked similar to what the design called for.
I tried many sliders. I looked at the demos and reviewed the screenshots. I skipped the ones without those. It took a lot of time.
Lesson 1: Research takes time.
I realized that I could code the html and css, but I did not know javascript well enough to build from scratch. I needed something from someone else to get started.
Lesson 2: Reach out and ask
I reached out to a colleague to see if he could build it for me.
There are several places to reach out:
- WP.org forum
- Colleagues and Co-working spaces
- WordCamps and local WP Meetups
- Theme and plugin forums (specific to the theme or plugin you are using)
As I wrote the email to my colleague, I realized I didn’t know how to communicate to him what it was that I actually wanted built (and that wasn’t already out a WP plugin).
So I went back to the designer. What did the designer have in mind for the slider to work? He gave me good feedback, but was also flexible on the outcome, depending what I could find.
Still, I wanted to try to match the design if at all possible! 🙂
Lesson 3: Define your scope
I had a better understanding of what I was looking for at this point. Now I almost wished I could go back and do the research again. But all that work!
It was the combination of researching available slider plugins, asking for help, and talking to the designer that helped me define the scope — or, in this case, the features that this slider should have.
The features were:
- continuous loop (from last to first slide)
- arrows (not auto slide)
- link to page (not post, like most plugins I found)
- unique styling (faded edge slides)
- mobile responsive (of some sort)
So, I finished the email to the colleague, asking if he can build this kind of slider in a certain timeframe.
Unfortunately, he was not able to build the slider in the time I needed, but he did offer very helpful suggestions. One of them was the Slick slider. It wasn’t a WordPress plugin, so that’s why I hadn’t found it.
I looked through the many demos on Slick, and found the Center Mode, almost exactly fitting my scope and abilities!
Feature compare, check! 🙂
Now to build Slick into my WordPress website.
Lesson 4: Read other people’s code
I have learned a lot from reading other people’s code, comments, theme files, etc.
Slick has a very understandable Getting Started page that helped me build the slider into my WordPress theme.
First, add the HTML. Second, add the CSS. Last, add the Javascript.
Very Simple! I tried it, and…
… the slider didn’t work on my website!
Oh, no, now what do I do?
Lesson 5: Test each piece separately before combining
If you’ve never made fruit pizza before, maybe you should taste test each fruit, check to make sure the cream cheese isn’t moldy, and the pan is clean. That way if the final combination doesn’t taste right, you know at least each piece was good going into the dish, and perhaps it’s the combination of tastes that isn’t working.
Piece 1: HTML
Copy from Slick, add to website, test website.
Works? YES!
Piece 2: CCS
Copy Slick files, add to website, test website.
Works? NO 🙁
Lesson 6: Compare code if broken
With two browser tabs side by side on your computer screen, compare the code that works with the one that doesn’t. This could be the demo compared to your site, or even old working version to new broken one.
Use Inspector (right click in Chrome and choose Inspector, Firebug also works great for this in Firefox) to look at the page code and see what is wrong.
In Chrome Inspector, under Sources, I noticed that the css wasn’t being included on the page, so I know there was something wrong with my wp_enqueue function.
Once I fixed that, it still wasn’t looking right. I ended up add a background color which showed up the white boxes, and I had to add more css to make it look right.
Works? YES!
Piece 3: Javascript
Copy from Slick, add to website, test website.
Works? NO 🙁
Again, I did something wrong. But what?
I went back to compare, and here I forgot the extra javascript for the Center Mode demo. I also had to match the css class being called in the js with the actual one in the html.
[There was a lot more issues I had — but I had to figure them out one by one!]
Finally, did it work? YES!
Whew!
Lesson 7: Take breaks to renew inspiration.
To be honest, it was quite a trial for me work through each piece and figure it out. Taking a break really helped give me a fresh eye and renewed strength.
- Go wash dishes.
- Go for a walk.
- Talk to the dog.
- Rake the lawn.
One day I needed a break and decided to get outside into the fresh air and doing something for a little. I walked over to the shed, pulled out the rake, and started raking.
I raked about 2 swipes, when a solution came to me for my website problem. No joke. 1, 2 swipes with the rake, and that was it!
I put the rake away, and went inside to use the idea — it worked!
Note: not a preferred way to get leaves off the lawn. 🙂 But hey, it’s all about taking the break, right?
Now that we got the Slick slider into the wordpress website, let’s match the look of the design.
I built out the HTML to include photo, caption, and link.
I added CSS to match the design, writing in Chrome Inspector and copying to the stylesheet.
That took some time, but it wasn’t wrought with errors, just css and html writing that I like to do.
So far, we accomplished 2 steps:
1. Add Slick to WP
2. Match Design
The last step is:
3. Build user friendly admin
Giving the client an easy website to maintain is something I want to do, but I don’t always have the time to build custom pieces.
Advanced Custom Fields has often been my heavy-lifter in this area.
In the dashboard of WordPress, ACF builds user-friendly layouts like this Services Slider fairly easily, instead of clunky code that the website owner shouldn’t have to touch anyway.
Once ACF builds that interface for the website owner to add slides, then I had to grab that data and pull into the Slick slider I had built in WordPress.
This pulling of data was another test-each-piece process, with various functions tripping me up. When an error occurred, I would grab the function from the wp or acf or php documentation, and test the sample code from the docs.
Lesson 8: Search the Codex
If something isn’t working, look that function up in the codex and test the sample code from there. If you’re working with a plugin or theme, look for documentation and sample code to test first and customize from there.
Lesson 9: Comment your code
Write a comment about your code to tell what it does or who wrote it (or where you found it or when you added it). Write whatever is applicable to your company and coding methods.
If you ever think you will go back and re-visit your code, or wonder why it’s there, comment your code!
If you don’t think you will forget, comment your code! Chances are someone else may be brought into the project and will have to work with your code. And chances are, you will forget. With time, you’ll learn better ways to code and wonder what in the world you were doing back then.
Read other people’s code to find out how to write helpful comments. Genesis themes have well-commented code. (Flashback to Lesson 4.)
Lesson 10: If at first, you don’t succeed, try, try again. And again. And again.
The last lesson is a story of my friend, who went to Africa last year. She worked on a development project to clear some land.
A missing piece of equipment was hauled in by pickup truck and unloaded. Er, tried to unload, that is.
How to remove that equipment from the truck? After three tries, using rope and finally chains, they were able to get the piece of equipment off the truck and onto the ground.
This story illustrates the way some projects work — trial and error. It takes a few tries before something may work.
But I want to encourage you to keep trying.
You might not be an A+ developer or the best designer out there, but you are learning, and you are learning by doing. Use the stress and reality of real-life projects to push your skills as a designer and developer — as a person.
The Bible says, Better is the end of a thing than the beginning thereof, and the patient in spirit than the proud in spirit.
It’s better to keep trying and complete your project, than to be proud of all the things you are only starting.
Don’t give up on yourself or your work.
Reach out.
Find ways to renew you inspiration.
Take time to learn.
To grow is to persevere.
Conference Feedback
I was so encouraged by the positive feedback.
agreed! her visuals were excellent! #WCLVPA
— Alisa (@ackaeser) July 16, 2016
@ayellowdaisy "Take breaks to renew inspiration" #wclvpa #goodadvice
— Alisa (@ackaeser) July 16, 2016
Backstory
So leading up to the conference, I was actually dreading this talk. Not because of the people. But because I was… ahem, bored of the topic.
I had given the talk earlier this year, and about halfway through, I felt bored with the sound of my own voice. It surprised me.
Now, if the speaker isn’t excited about what he’s sharing, how in the world will anyone else be, pray tell??
It was a disconcerting dilemma!
I reached out to a few others for feedback on the last talk. The responses helped me realize how to make it better. I needed to focus on the Lessons I learned instead of the Code I built.
That’s when it got exciting.
I moved the old slides into Keynote for a fresh slide deck. Using some advanced tricks in Keynote that I learned in a recent Apple One-to-One, I could build life into the slides. (Yeah, I didn’t figure the visuals out all by myself!) The message started flowing, and the cumbersome code from the first talk was dropped.
Keynote has some AMAZING transitions. Use them wisely for a subtle flare – generally less is better, and keep in mind the design of the before and after slides. For example, the door transition works best with a split design on the before slide.
In the end, I had so much fun giving this presentation! The audience was a joy to share with. When the confetti transition dropped on the white broken light bulb slide, it felt like the whole room – everyone’s hearts sank — just like mine had when I was building the slider.
Thanks everyone for making the day fun and helpful and happy!
Slide Photo Credits
Slide 1 Photo by Omega Man
Slide 5 Photo by Melanctha
Slide 6 Photo by VinothChandar
Slide 7 Photo by horizontal.integration
Slides 8,9 Photo by Nathan O’Nions
Slide 10 Photo by Leo Reynolds
Slides 11,12 Photo by BenSpark
Slide 15 Photo by Monceau
Slide 16 Photo by m-s-y
Slide 24 Photo by Leo Reynolds
Slide 25 Photo by Daniel Y. Go
Slide 27 Photo by RobertFrancis
Slide 28 Photo by Leo Reynolds
Slide 29, 30 Photo by Hindrik S
Slide 30 Photo by audreyjm529
Slide 40 Photo by Leo Reynolds
Slide 41 Photo by Mona Loldwoman
Slide 52 Photo by Leo Reynolds
Slide 53 Photo by Will Montague
Slide 54 Photo by amyeetx
Slide 55 Photo by nicholas.istre
Slides 61,62 Photo by SAN_DRINO
Slide 66 Photo by Leo Reynolds
Slide 68 Photo by Timothy Valentine
Slide 70 Photo by Leo Reynolds
Slide 74 Photo by anieto2k
[…] are some more tips on how to survive and thrive learning how to build and maintain a website by doing it. (This is Learning by Doing presentation that I gave at WordCamp Lehigh […]